How to Livestream on YouTube: Updated Beginner’s Guide
Livestreaming on YouTube is one of the easiest ways to share events, connect with viewers, and grow your audience in real time. Whether you're streaming a pickleball match, hosting a webinar, or creating live content for your community, getting started is easier than you might think.
This step-by-step guide will show you how to go live on YouTube from both desktop and mobile while helping you avoid common issues along the way.
Quick Checklist: What You Need Before Going Live
Before starting your livestream, make sure you have the essentials ready.
• A verified YouTube account (required for live streaming) • Stable internet connection with at least 3 Mbps upload speed • A working webcam and microphone (or external camera via capture card) • A stream title, description, and optional thumbnail image • Privacy setting selected (Public, Unlisted, or Private)
If you’re streaming from a mobile device, additional requirements apply:
• At least 50 subscribers • No livestream restrictions within the last 90 days • Your first mobile livestream may require a 24-hour activation wait
Preparing these elements ahead of time will make your livestream setup much smoother.
How to Livestream on YouTube From Desktop
Streaming from a desktop computer is the fastest and easiest option for beginners, especially if you're using your webcam.
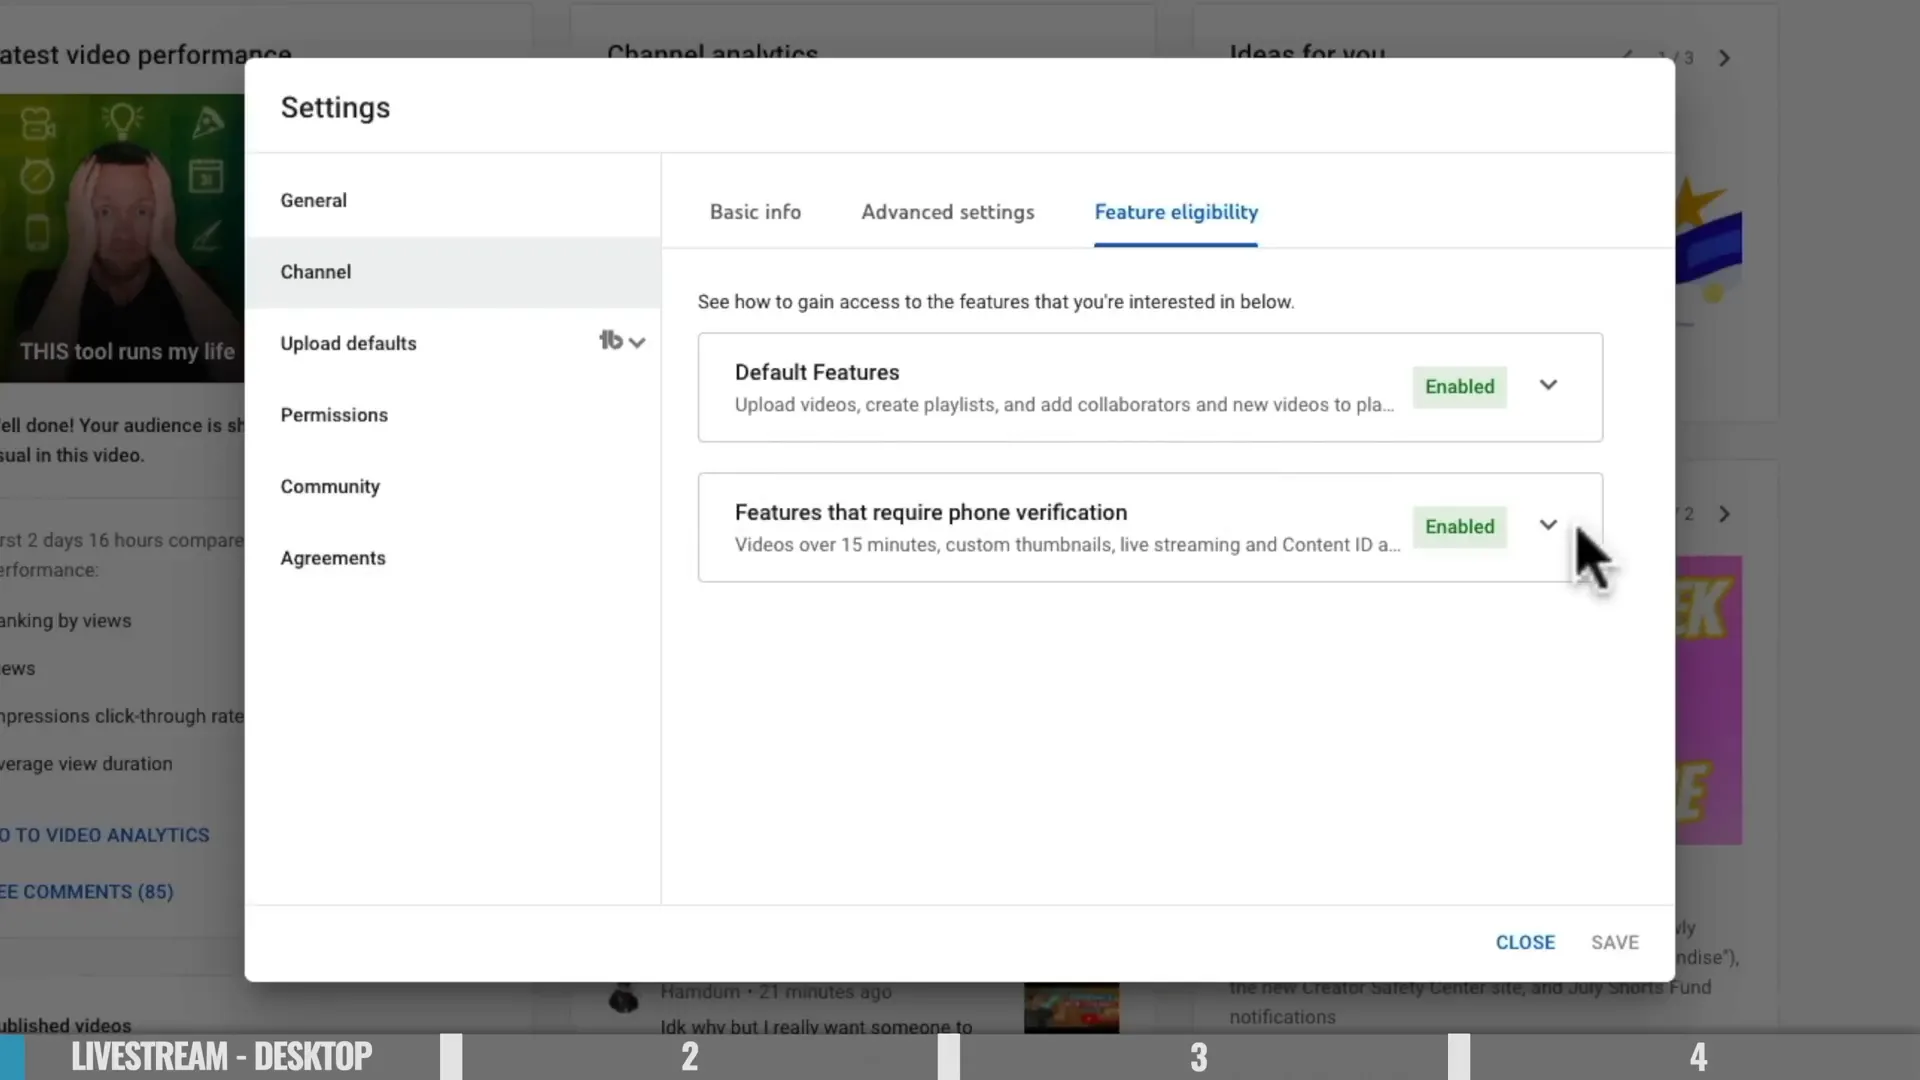
Step 1: Open YouTube Studio
Log into YouTube and click your profile icon in the top-right corner. Select YouTube Studio.
Then confirm your channel is verified by navigating to:
Settings → Channel → Feature Eligibility
Step 2: Start the Livestream Setup
Click the Create button in the top-right corner and select Go Live.
Choose the Webcam option to stream directly from your computer.
Allow YouTube to access your webcam and microphone when prompted.
Step 3: Add Stream Details
Enter the following information:
• Stream title • Description • Thumbnail image (optional but recommended)
You’ll move through a few setup screens where you can:
• Enable or disable live chat • Add stream delay if needed • Choose who can send chat messages • Enable moderation tools
These settings help control how viewers interact during your livestream.
Step 5: Choose Visibility
Select your stream visibility:
• Public – Anyone can view the stream • Unlisted – Only people with the link can watch • Private – Only specific accounts can view • Schedule for later – Set a future livestream time
You can copy the shareable stream link to promote the event before going live.
Step 6: Start Streaming
Preview your camera feed and confirm everything looks correct.
When ready, click Go Live.
Once YouTube displays “You Are Live,” the broadcast has officially started.
During the stream, you can monitor viewer interaction using the chat panel, where you can:
• Pin comments • Create polls • Moderate messages • Switch between Top Chat and Live Chat
Step 7: End the Livestream
When your stream is complete:
Click End Stream and confirm.
YouTube will immediately display quick analytics including:
• Total views • Peak concurrent viewers • Watch time
How to Livestream on YouTube From Mobile
Streaming from a phone is convenient but has a few extra requirements.
Mobile Requirements
• At least 50 subscribers • No livestream restrictions in the last 90 days • First-time mobile streams may require 24-hour activation
Channels with fewer than 1,000 subscribers may also experience limited visibility during mobile streams.
Step-by-Step Mobile Livestream Setup
Open the YouTube app.
Tap the + button at the bottom of the screen.
Select Go Live.
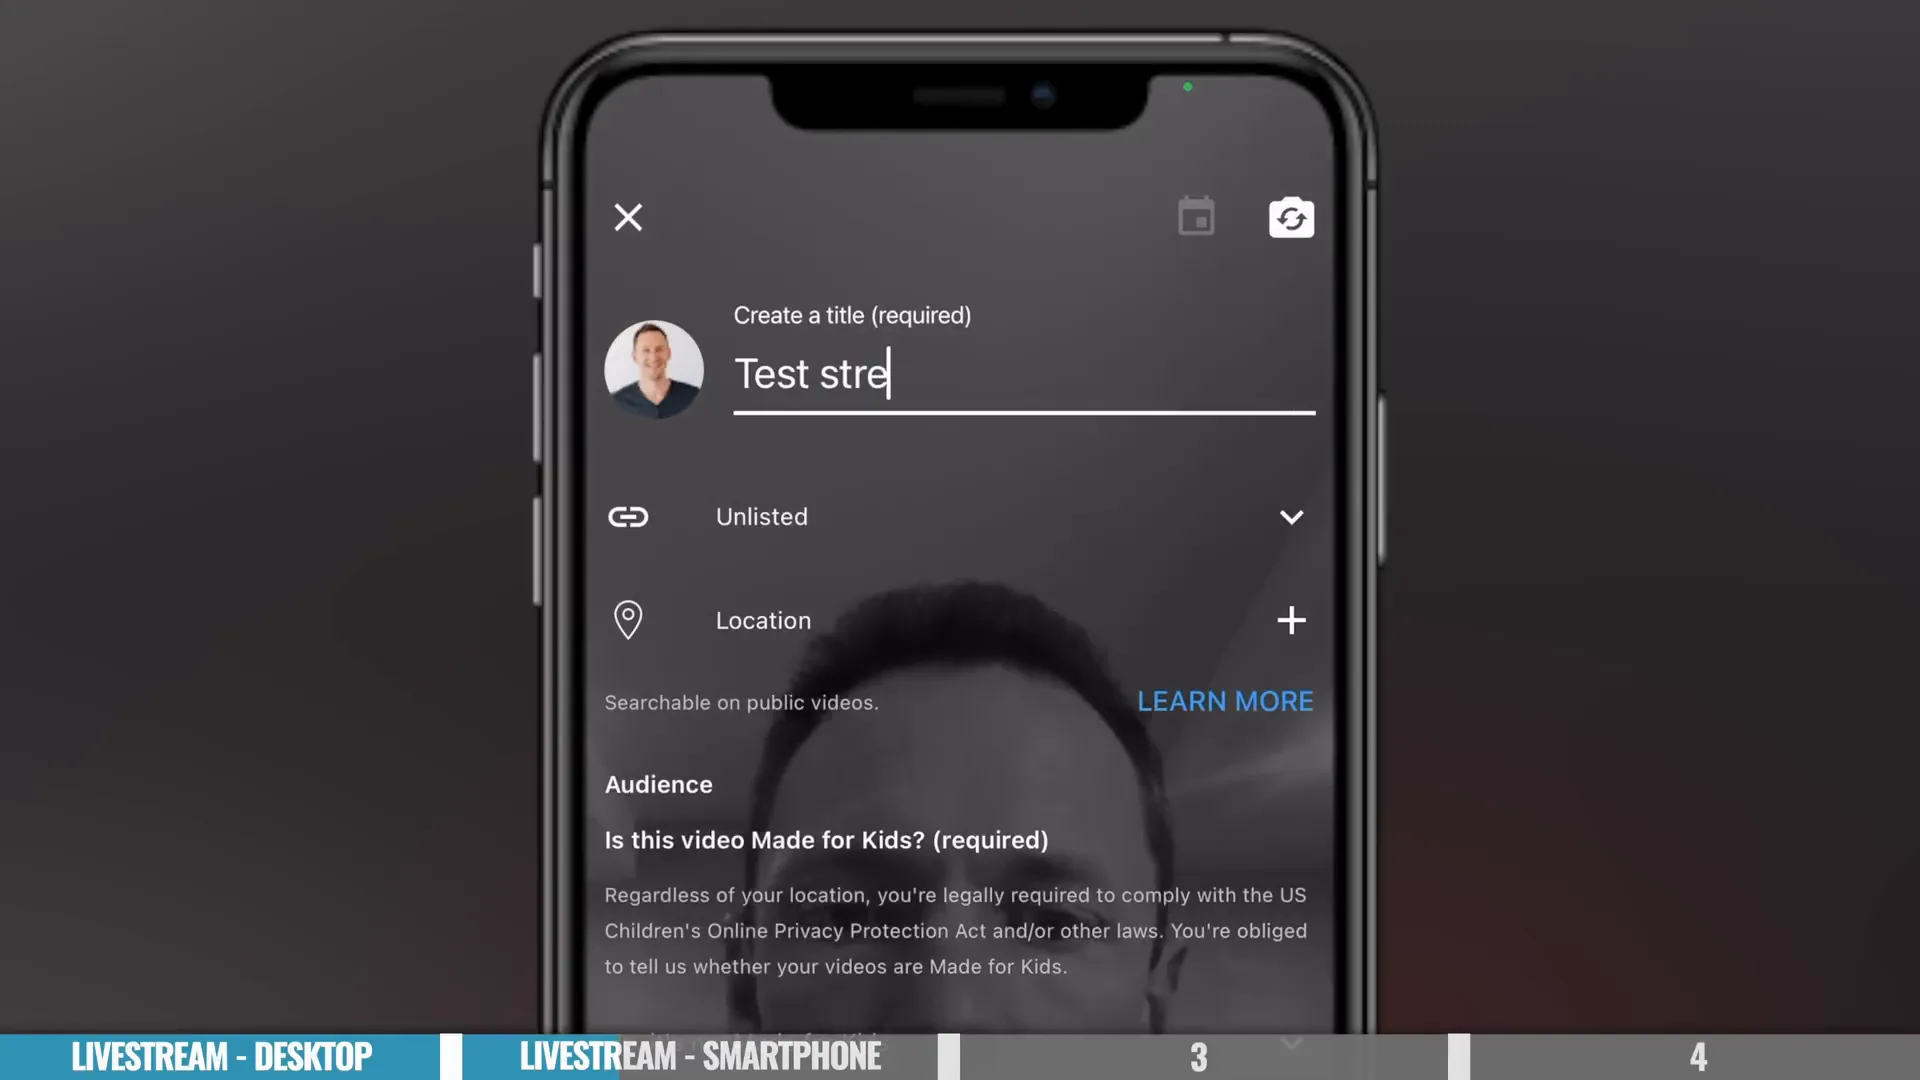
Next, enter the basic details:
• Stream title • Visibility settings • Whether the content is made for kids
Important: Choose portrait or landscape orientation before starting. This cannot be changed once the stream begins.
Start the Mobile Stream
Share the livestream link if you want viewers to join the waiting room.
Tap Go Live to begin streaming.
During the broadcast you can:
• Switch between front and rear cameras • Monitor chat messages • Highlight moments during the stream • Mute your microphone • End the broadcast using the X button
What Happens After the Stream Ends
After you finish your livestream, YouTube automatically uploads a high-quality replay to your channel.
This recorded version can be edited and reused.
Recommended next steps include:
• Review analytics (views, watch time, peak viewers) • Trim mistakes or unnecessary segments • Add chapters to organize long streams • Create highlight clips or Shorts • Update the video description with links or calls to action
Repurposing livestream content helps maximize the value of each broadcast.
Final Thoughts: Start Simple, Then Upgrade
The easiest way to begin livestreaming is by using YouTube’s built-in webcam or mobile streaming tools. Once you're comfortable going live, you can expand your setup with dedicated streaming platforms such as:
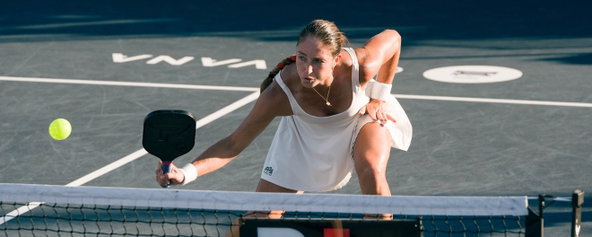
If you’d like to learn how to livestream your pickleball matches or tournaments, check out our full video tutorial below. It walks through the entire process step by step so you can start broadcasting your event with confidence.
.jpg?width=1320&height=528&optimizer=image)